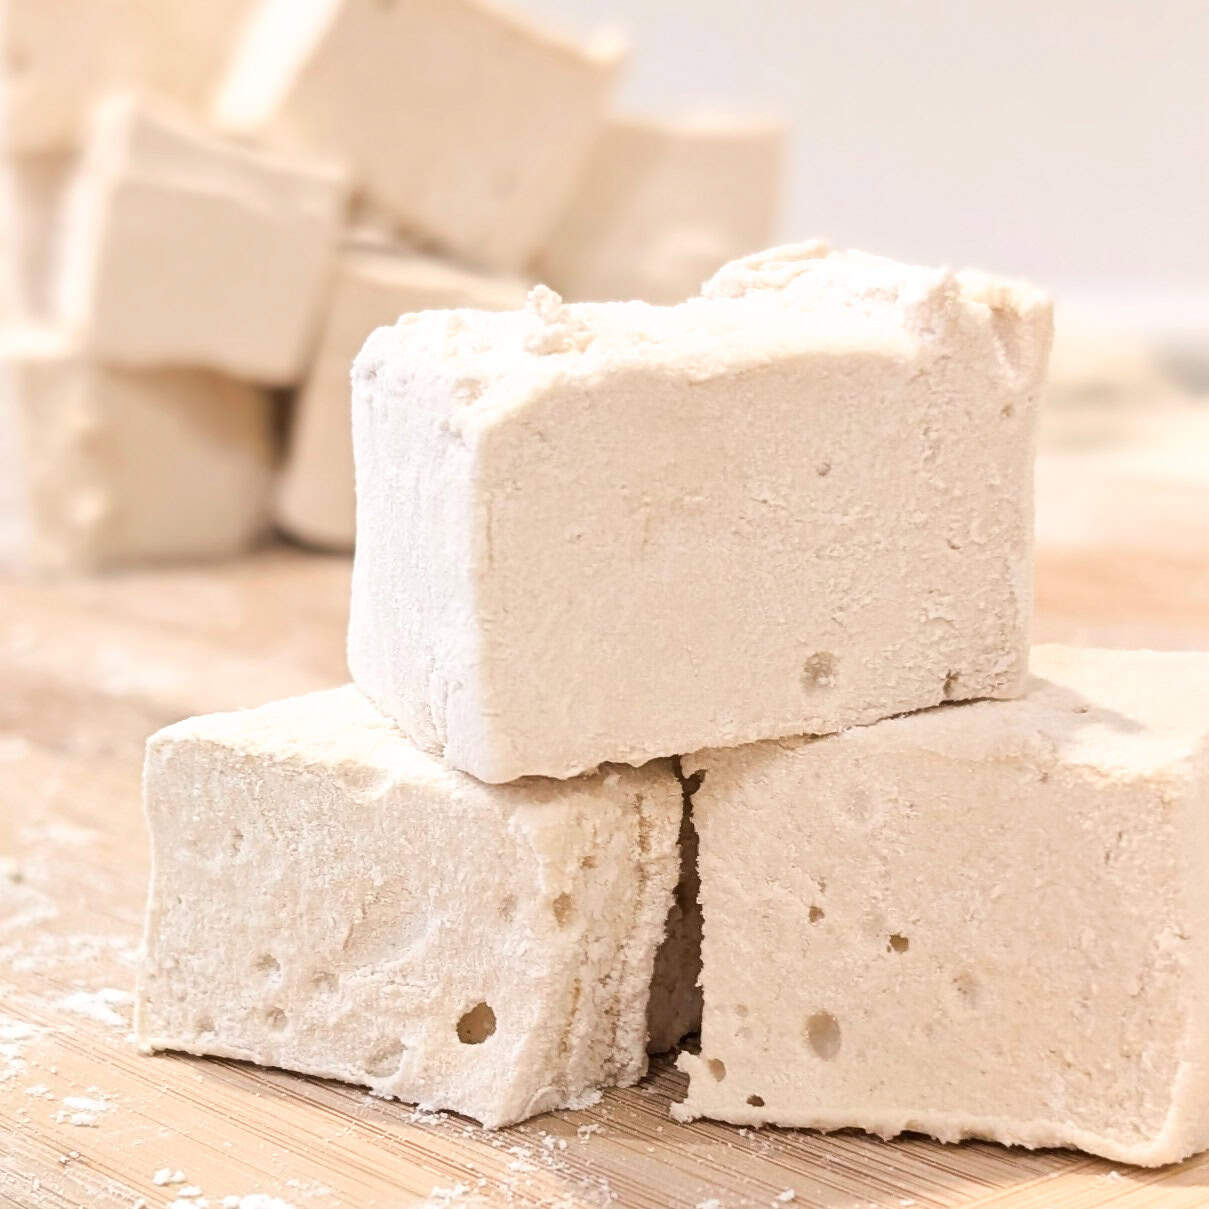
Healthy Marshmallow Recipe
These healthy homemade marshmallows are some of the most authentic-tasting refined sugar free treats. Learn how to easily make DIY marshmallows with maple syrup and you'll never want to buy them from the store again! Best of all, kids love this healthy marshmallow recipe and can't get enough of them. Perfect in hot chocolate or by themselves as a clean eating dessert.
Print
Pin
Servings: 36 Marshmallows
Calories: 38kcal
Equipment
Ingredients
- 210 g water cold, divided
- 3 tbsp gelatin
- 470 g maple syrup
- 1/8 tsp salt
- 1 tsp vanilla extract
- arrowroot powder for dusting
Instructions
- Add half of the cold water (105 g) to the bowl of your stand mixer. Sprinkle the gelatin on top and mix. Place bowl on your mixer along with the whisk attachment. Leave the gelatin water undisturbed to bloom (hydrate the gelatin) while you prepare other ingredients.
- Line an 8x8 baking dish with parchment paper with the edges extending beyond the dish and dust the bottom with arrowroot powder.
- Add remaining water (105 g), maple syrup and salt to a medium-size pot. Heat on the stove on medium-high heat until it boils. Once it begins to boil, place a candy thermometer in the maple syrup to carefully monitor when it reaches 240 degrees Fahrenheit. Be patient; it can take up to 30 minutes for the temperature to reach 240 degrees F. It will keep boiling without the temperature changing for a while, but keep watching and waiting. As soon as the temperature reaches 240 degrees (it happens quickly once the temp starts to rise), turn off the heat.*See notes.
- Working quickly but carefully, turn your mixer on low and pour the maple syrup into the mixing bowl using a spatula to scrape out any remaining in the pot. Once the maple syrup and gelatin mixture are incorporated, turn the speed up to medium and then high as you are able without causing splashing.
- Continue beating the marshmallow mixture on high and watch it carefully. It will take 5-7 minutes for it to become airy and increase in volume. As it mixes, the gelatinized maples syrup will lighten in color more and more until it turns whiteWhen it is ready, it will be approximately tripled in volume, the shininess will have dulled and when you lift the whisk from the mixture, the marshmallow will gently flow from the whisk and land in ribbons that reabsorb into the marshmallow in the bowl after 3-4 seconds.
- Add the vanilla extract about 30 seconds before you finish whipping the marshmallow.
- Once the mixture is done whipping, work quickly again to pour it into your prepared dish lined with parchment paper. Spread the marshmallow out as evenly as you can. Immediately jiggle it to get the air bubbles out.
- Leave the marshmallow to set on the counter for 2-3 hours. Once it is firm to the touch (although it will always be sticky), it is set.
- Once set, dust the top of your marshmallow block with arrowroot powder and lift it out of the dish with the parchment paper edges. Place upside-down on a cut-safe surface and cut into cubes, lightly dusting all exposed sides with arrowroot powder.
- Serve to kids with a sweet tooth. Store leftovers in a sealed container or sealable bag at room temperature for up to one week.
Notes
- Because this recipe requires you to act quickly with your boiled maple syrup and then again with your whipped marshmallow cream, it is important to have all of your ingredients, mixer and pan ready to go before you start.
- Patience is key with this recipe. It takes a while for the maple syrup to reach the correct temperature during the boiling process. You will be nervous it's going to burn and feel like your thermometer isn't working. But it usually takes 25-30 minutes for my maple syrup to heat to the correct temperature.
There will come a point where the temperature will seem to be "stuck". It may go up an down slightly but will mostly remain constant for several minutes.
Just watch carefully because once the temp does start to rise past the "stuck" point, it goes up quickly. Be ready to turn off the stove and remove the pot from the heat as soon as you see 240 degrees F on your thermometer. - If your maple syrup threatens to boil over, turn down the heat. You can also stir the bubbles a bit intermittently to prevent boiling over.
- The easiest way to cut the large block of marshmallow into cubes is to use kitchen sheers to cut the block into strips and the strips into cubes. You can also use a sharp, large knife. Be sure to dust sticky sides with arrowroot powder as you go.
Nutrition
Calories: 38kcal | Carbohydrates: 9g | Protein: 0.5g | Fat: 0.001g | Sodium: 11mg | Potassium: 30mg | Sugar: 8g | Calcium: 15mg | Iron: 0.02mg
